Diagrams For Assembling 12x14 Skillion Outbuilding : Right Steps to Build a Wooden Shed
Mark where the studs are on the membrane so that you can easily find position to screw into. Measure between two opposite corners and then measure between the remaining corners. You may omit the ridge board if you secure rafters to each other with a gusset plate. We used some leftover pieces of siding as our trim. To have cleanest install possible, pre drilling your screw holes will great improve the end result. Use a plank to check for level and a power compactor to (https://shedconstructionplans.com/12x20-gable-shed-plans-blueprints) compact gravel. The main idea behind this type of roof is that it provides you with a huge amount of storage space, especially when walls are six feet tall.
For most part the weight is supported by triangular shape, however, one ends there are supports running from beams or rafters up to the top angled board of truss. It spans the whole length of the roof and eve's so that time joints would always be overtop a connection point. We constructed our door from the same boards as our sheathing, and we made sure to ship lap the vertical boards. Let the concrete to dry out before continuing the project. Nail tongue-and-groove cedar boards to the exterior of frame on the sides and back. Great for use with any type material.
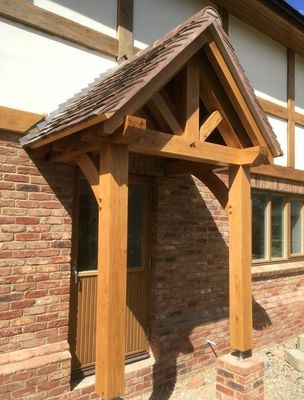
Make window by assembling a simple wood frame to hold a piece of double-strength glass. Your frames must be made from lumber for outdoor use. Standard ceiling height is 8 feet from (visit site) the finished floor to underside of ceiling drywall. Using a jigsaw, segment the excess sheathing flush with the roofline on both sides. A shed roof is essentially one half of a gable roof that has a single, shallow slope. Begin framing back wall by laying out stud locations on top and bottom plates. If you want to fabricate storage space in your backyard without investing a great amount of money in materials and labor, we recommend you building a basic outbuilding with a gable roof.
Processing video...
Support each corner and every 6' to 8' on perimeter and through the middle area. Hardwood on rear wall is nailed to rafter ends. The level of difficulty increases for sloped ground. Remove nails or screws inside square, using either Phillips screwdriver or hammer claw. If building the wall on a concrete floor, e. These became first corner of building. Cut ridge end with an angle cut, and at supporting wall top plate with a birdsmouth notch. These diagrams seem to be very well laid out and very helpful with provided measurements and illustrations. We then measured and slice a piece of all thread a couple inches longer than each hole needed.
Then install the asphalt shingles starting with bottom of the roof. Now each of you would be doing something different, but because my easiest frame to create was the back we would start with that and you could pick and choose parts from each section to help you create rest. The roof header is flat and level but rafter is angled, so bird’s mouth compensates and creates a flat section for the rafter to sit on the header beam. For this you'll need a survey or plot plan. Place the foundation pieces, connect together, and level. If you are wanting extra strength you could add floor joist hangers and smaller cuts of lumber running length down center between the floor joists.
Drive two nails at 45-deree angles through lower portion of the joist's face and into the upper edge of girder with a framing hammer. Overall the shingle style came up real nice and the windows also came out real nice. Check with your local lumber store for the best prices. The roof trusses were also assembled on ground, then lifted into place on top of the walls. You put hardwood on sides only. Measure from one end of piece and mark length of a block that would be used as a pattern for cutting remaining blocks. Use a couple of temporary uprights clamped to the top of both the front and rear walls to hold the ridge board in place until such time as the hurricane ties are nailed securely to both front and rear walls.
Secure the bottom of posts to the deck frame with metal post anchors. Smooth the edges with sandpaper in order to get a professional result. A ridge beam is thicker than a ridge board, so nailing through it into rafter end isn't an option. Any materials that are damaged or missing require you notifying us of any material issues within this time so that we can immediately work to correct them.